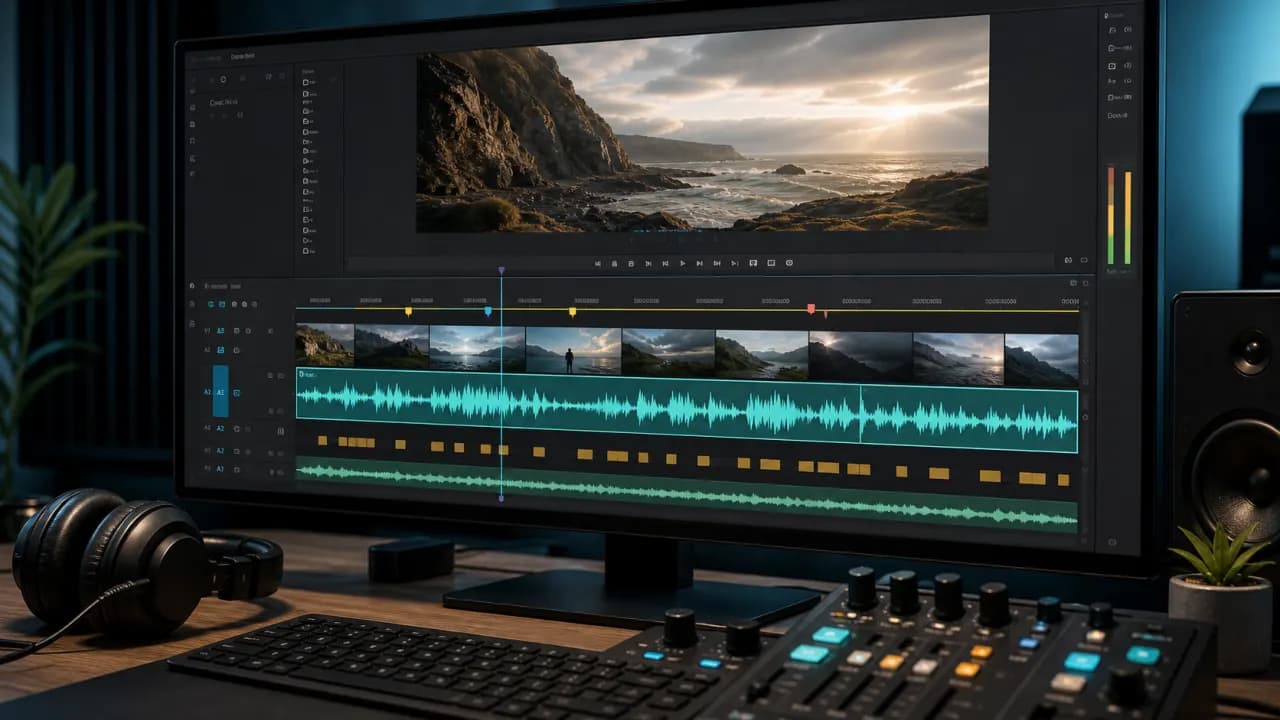
Adding an AI voiceover to a video is a practical way to narrate tutorials, explain products, localize content, or publish without recording a microphone session.
The strongest workflow begins before audio generation. You need to understand the visual timing, write narration that fits each scene, generate the voice in manageable sections, and mix it so speech remains clear without overpowering the video.
Key takeaways
- Build the script around visual changes and available screen time.
- Generate narration in scenes so timing corrections stay manageable.
- Lower music beneath speech instead of simply increasing voice volume.
- Review the final video on both headphones and a phone speaker.
Choose the right voiceover workflow
Use script-first production when the visuals will be created around the narration. This works well for explainers, training content, and motion graphics.
Use video-first production when footage already exists. Watch the edit, mark scene changes, and write narration that fits each time range. For translated content, preserve meaning while adapting sentence length to the available timing.
1. Write narration to match the video
Create a simple table with start time, end time, visual description, and spoken line. This reveals where the script is too long before you generate anything.
Leave small gaps between sections. Continuous narration can make a video feel crowded and gives an editor no room to adjust a transition.
- Describe what the viewer cannot already understand from the image.
- Put important words near the visual moment they explain.
- Avoid reading every label visible on screen.
- Allow extra time for names, numbers, and unfamiliar terms.
2. Generate the voiceover in scenes
Generate one scene, paragraph, or logical section at a time. Smaller files make it easier to replace one line without recreating the entire narration.
Use the same voice and baseline settings throughout the project. Save a note containing the voice name, language, speed, pitch, and any recurring pronunciation choices.
- 1
Select a voice
Choose a tone that supports the visual style and intended viewer.
- 2
Generate a timing test
Create the longest or most important scene first.
- 3
Adjust the script
Shorten wording before applying extreme speed changes.
- 4
Generate remaining scenes
Use consistent settings and clear file names.
3. Place and edit the narration
Import the generated files into your video editor and place each clip under its matching scene. Trim silence at the beginning or end, but keep natural pauses inside sentences.
If a clip is slightly too long, first move it earlier, tighten a nearby pause, or shorten the line. Heavy time stretching can introduce artifacts and make the voice sound less natural.
4. Balance voice, music, and original sound
Narration should remain understandable at a comfortable device volume. Reduce background music while the voice is speaking and bring it back up during visual-only sections.
Use light compression or loudness normalization if available, but do not process the voice so aggressively that breathing and emphasis disappear. Keep useful original sounds such as clicks, demonstrations, or environmental cues when they support the story.
Test the mix on a phone speaker. If important words disappear without headphones, lower the background track before raising the narration further.
5. Add captions and export
Captions help viewers watching without sound and make names or technical terms easier to follow. Ensure the caption text matches the final voiceover rather than an earlier script draft.
Before export, watch the full video without stopping. Check synchronization, pronunciation, music transitions, caption timing, and the final call to action.
Frequently asked questions
Can I add an AI voiceover to an existing video?
Yes. Mark the timing of each scene, write narration that fits those ranges, generate it in sections, and align each audio clip in your video editor.
How do I synchronize an AI voice with video?
Write the script against timestamps and generate scene-sized clips. Adjust wording and pauses before using large speed changes.
Should I remove the original video audio?
Remove or lower original dialogue when replacing it. Keep useful sound effects and ambience if they support the visuals and do not compete with narration.
Do I still need captions when a video has a voiceover?
Captions are still valuable for muted viewing, accessibility, unfamiliar terms, and noisy environments.